Brazilian vs Hollywood Wax: What’s the Difference and Which Is Right for You?

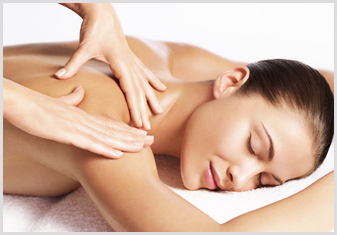
If you’re considering an intimate wax for the first time — or just looking to switch things up — you may be wondering: What’s the difference between a Brazilian and a Hollywood wax?

These two treatments are often confused, but they offer very different results. In this guide, we’ll explain the key differences, what to expect during each, and how to decide which option is right for you.


What Is a Brazilian Wax?

A Brazilian wax removes hair from the front and middle of the bikini area, including the labia and inner buttocks. However, a small amount of hair is typically left at the front, such as a triangle, strip, or custom shape — depending on your preference. A Brazilian wax is ideal if you want to feel smooth but still leave a neat patch of hair.

Common reasons clients choose Brazilian waxing:

  • You like a bit of hair left for personal comfort or style
  • You want thorough hair removal for hygiene or convenience
  • You’re planning a holiday, special occasion, or want a long-lasting groomed look

What Is a Hollywood Wax?

A Hollywood wax takes it all off — completely hair-free from front to back, including the labia and between the buttocks. This treatment leaves no hair at all in the bikini area, giving you a sleek, smooth finish. It’s a great option if you prefer to feel totally bare and fresh.

Common reasons clients choose Hollywood waxing:

  • You prefer a completely smooth look and feel
  • You want a clean slate for personal hygiene or confidence
  • You’re wearing lingerie, swimwear, or gym gear and want no hair peeking out

Which One Should You Choose?

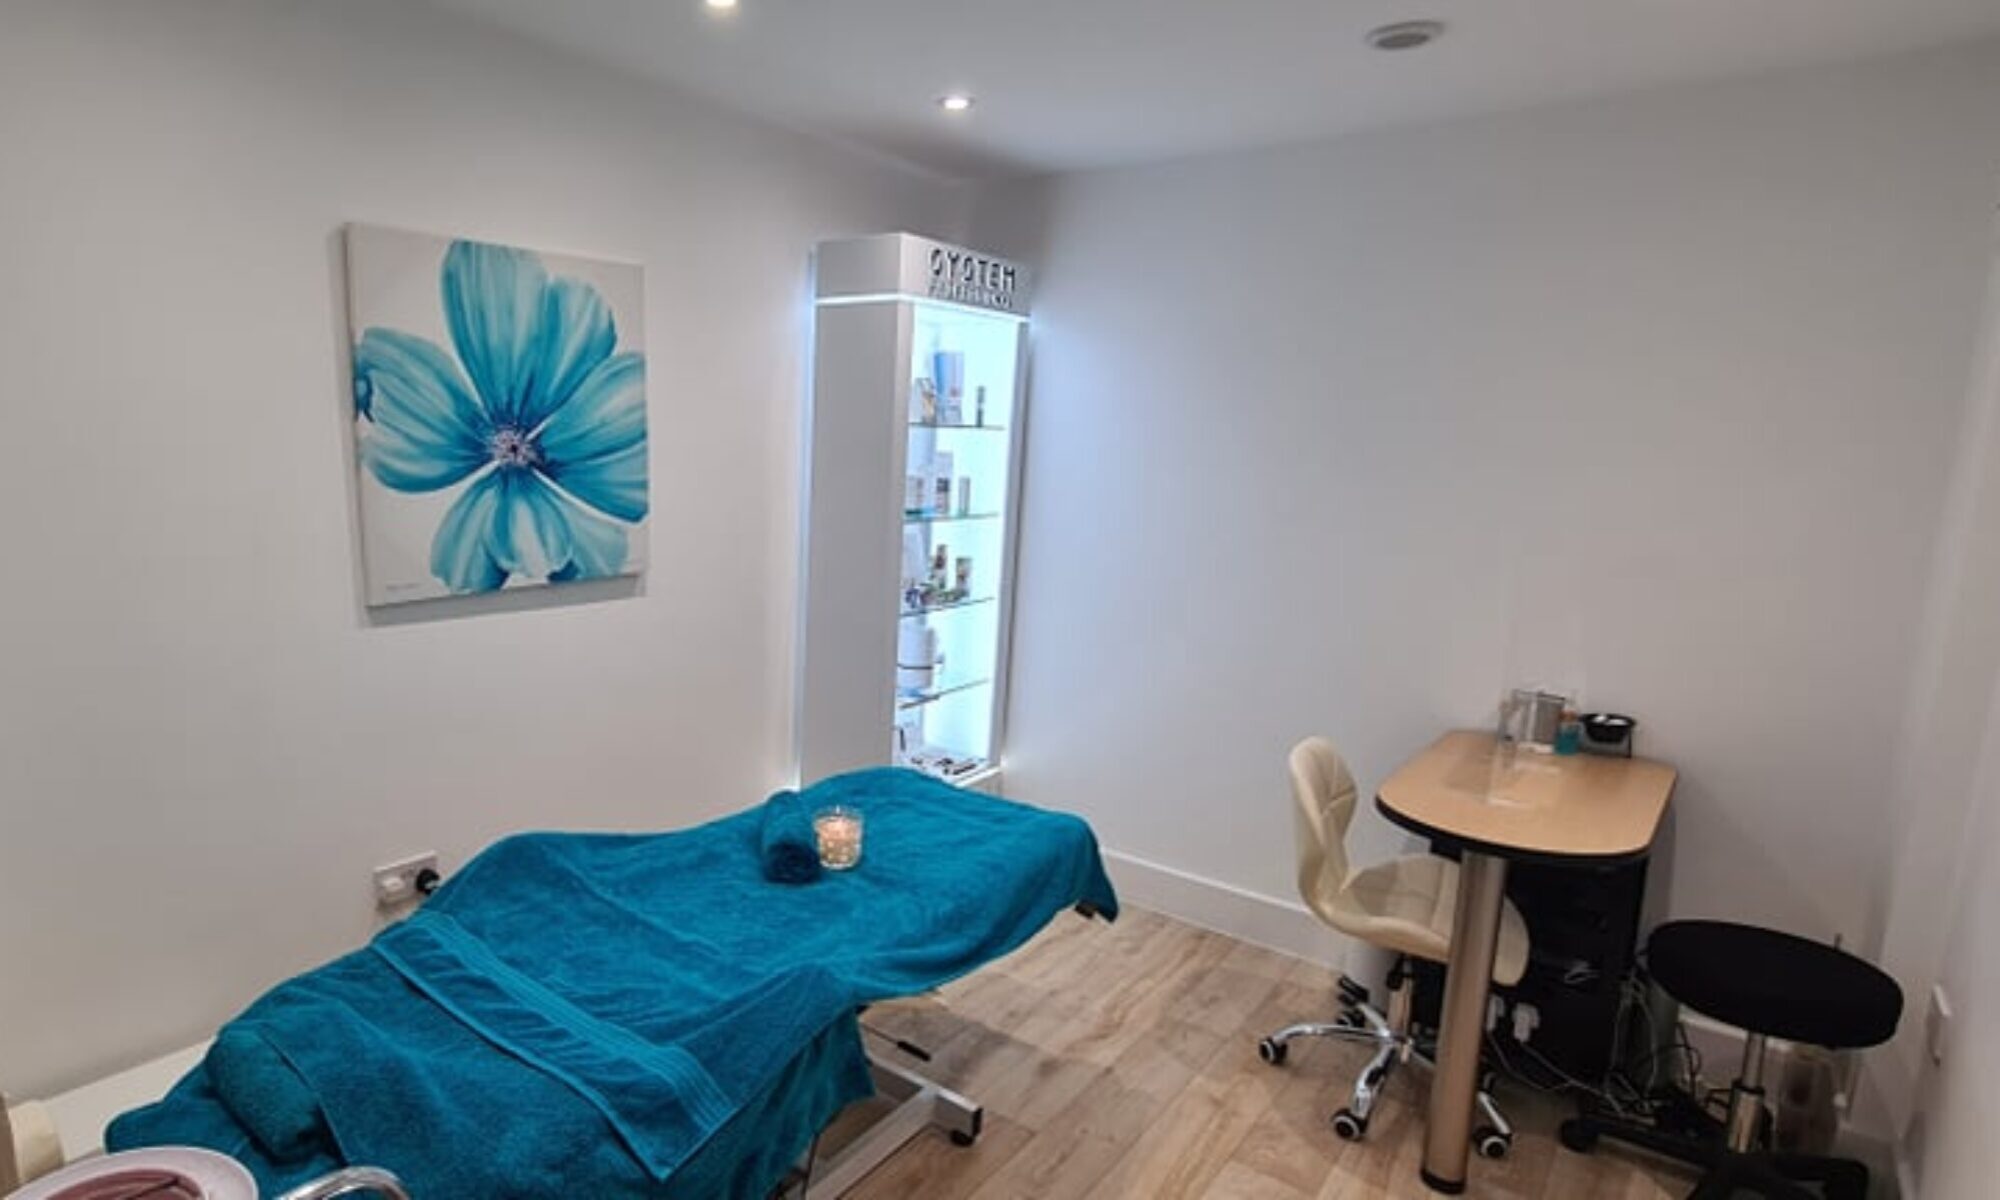
The right choice depends on your personal preference, lifestyle, and comfort level. Still unsure? That’s okay — Emma will happily discuss your goals and guide you toward the best option during your appointment. Whether you choose Brazilian or Hollywood waxing, here’s what you can typically expect:

  • A private, professional setting where you feel comfortable and respected
  • A consultation to discuss your preferences and any concerns
  • High-quality wax and hygiene standards
  • Aftercare tips to help prevent irritation and keep your skin smooth

Final Thoughts

Both Brazilian and Hollywood waxing are excellent options for long-lasting smoothness and a boost in confidence. The best choice is the one that makes you feel comfortable, clean, and confident in your own skin. If you’re in Tilehurst or the Reading area and looking for a friendly, experienced therapist, Emma is here to help.

Book your waxing appointment today or reach out if you have any questions — your comfort and satisfaction come first.

11 Tips for Glowing, Healthy-Looking Skin After a Facial

Everyone wants beautiful, glowing skin — and the good news is, it’s within reach. While facials are a fantastic way to jumpstart your skin’s radiance, achieving long-term results takes consistent care and the right daily habits.

In this post, we share 11 expert-approved tips to maintain and enhance your skin’s health and glow after a facial. Whether you’re a skincare beginner or a beauty enthusiast, these practical steps will help you get the most from your facial treatments and keep your skin looking its best every day.


1. Cleanse Your Skin Twice Daily

A glowing complexion starts with a clean canvas. Washing your face morning and evening removes dirt, oil, and impurities, allowing the rest of your skincare products to work more effectively. Look for a gentle cleanser suited to your skin type and always follow up with a toner or moisturiser.


2. Exfoliate Once or Twice a Week

Regular exfoliation helps remove dead skin cells, brighten your complexion, and encourage healthy skin turnover. Use a mild exfoliant once or twice a week — but don’t overdo it. Too much exfoliation can dry out or irritate the skin, especially after a facial.


3. Apply a Face Mask Weekly

Facial masks deliver targeted results depending on your skin’s needs — from hydration to detoxification. Using a mask once or twice a week helps soothe the skin, refine pores, and boost glow. Choose a mask that matches your skin type (hydrating, clarifying, brightening, etc.).


4. Use a Cleanser Between Mask and Exfoliation Days

On days when you’re not exfoliating or masking, stick with a basic cleanse to keep skin fresh and prepped. A balanced cleanser will keep your skin clear without stripping away its natural moisture, making it easier for other products (like makeup or serum) to perform better.


5. Use a Toner Morning and Night

Toners have come a long way. Modern formulations are gentle and hydrating, helping balance your skin’s pH and remove any lingering residue after cleansing. You can use them twice daily or even carry a misting toner with you for a quick midday refresh.


6. Choose a Serum Based on Your Skin Goals

Serums are highly concentrated formulas packed with active ingredients that address specific concerns like dullness, fine lines, or pigmentation. Because they absorb deeply into the skin, they can be more effective than moisturisers alone. Pick a serum that suits your skin type and apply it regularly for best results.


7. Use a Dedicated Eye Cream

The skin around your eyes is thinner and more delicate than the rest of your face. It’s often the first area to show signs of ageing. Using an eye cream helps keep this area hydrated, firm, and bright. Look for products with ingredients like peptides, antioxidants, or vitamin C to reduce puffiness and fine lines.


8. Moisturise Daily with SPF

Moisturising helps lock in hydration and protect the skin barrier. Choose a daily moisturiser that contains SPF 30 or higher to shield your skin from harmful UV rays, which are a leading cause of premature ageing. Even on cloudy days, sun exposure can harm your skin.


9. Add a Facial Oil for Dry or Dehydrated Skin

If your skin feels tight, flaky, or dull despite moisturising, consider adding a few drops of facial oil. Oils can provide an extra layer of nourishment and help seal in moisture. They’re especially helpful in colder weather or for mature, dry skin types.


10. Stay Hydrated from Within

Hydration starts on the inside. Drinking at least 8 glasses of water per day supports your skin’s natural moisture barrier and helps keep it looking plump, smooth, and youthful. Dehydrated skin often appears dull and more prone to fine lines.


11. Get Professional Advice When Needed

Every skin type is different. If you’re unsure which products or routine will work best for you, don’t guess. Book a consultation with a qualified beauty therapist or dermatologist who can recommend a tailored skincare plan based on your skin’s unique needs.


Final Thoughts

Healthy, glowing skin isn’t achieved overnight — but with the right habits and consistency, you’ll start to notice real, lasting changes. Use these tips as a daily guide to extend the benefits of your facial treatments and maintain radiant, well-nourished skin all year round.

If you have questions about your skincare routine or want to book your next facial, Emma is here to help. With over 10 years of experience and a passion for personalised skincare, she’ll work with you to help your skin shine.

Book your facial appointment with Emma today and give your skin the TLC it deserves! Follow Emma on Facebook and Threads for more skincare tips, myth-busting info, and beauty advice.

Understanding Different Types of Massage: Which One is Right for You?

Massage

Massage therapy is one of the most effective ways to relieve stress, ease muscle tension, and boost your overall sense of well-being. Whether you’re seeking total relaxation or need targeted relief from aches and stiffness, there’s a massage technique to suit your needs.

In this blog post, we explore three of the most popular massage treatments in the beauty therapy industry: Swedish Massage, Deep Tissue Massage, and Combination Massage. Each has its unique benefits and purpose — read on to find out which one may be right for you.

Swedish Massage

The Swedish massage is one of the most common and widely practiced forms of massage therapy. It was originally developed to improve blood circulation and assist in flushing toxins from the muscles. This type of massage is typically performed as a full body treatment, using long, flowing strokes, gentle kneading, and rhythmic tapping movements.

Swedish massage is ideal for:

  • Promoting full-body relaxation
  • Reducing stress and mental fatigue
  • Improving blood flow and oxygen delivery to muscles
  • Easing surface muscle tension

This massage is perfect for those who are new to massage therapy or simply looking to unwind and de-stress.

Deep Tissue Massage

Deep tissue massage goes beyond the surface to target the deeper layers of muscle and connective tissue. Your therapist will use slower strokes and more intense pressure, often incorporating forearms and elbows to release areas of chronic tension or muscular knots.

Deep tissue massage is especially beneficial for:

  • Releasing built-up tension in stiff, sore muscles
  • Improving posture and muscle alignment
  • Alleviating pain from sports injuries or repetitive strain
  • Enhancing flexibility and muscle recovery

While it may feel more intense, many people find deep tissue massage incredibly effective for long-term relief from persistent discomfort.

Combination Massage

A combination massage brings together the soothing qualities of a Swedish massage with the targeted pressure of deep tissue techniques. This tailored approach allows your therapist to adjust the intensity and focus of the massage to meet your unique needs.

Combination massage is a great choice for clients who:

  • Want the benefits of both relaxation and muscle relief
  • Have general tension but also specific areas needing deeper work
  • Prefer a customised experience based on their body’s condition that day

It’s a versatile and personalised treatment that offers the best of both worlds — ideal for full-body relaxation with the added benefit of targeted muscle relief.

Final Thoughts

No matter which type of massage you choose, each one has the potential to improve your physical comfort, emotional wellbeing, and overall quality of life. Whether you’re winding down after a stressful week, managing muscle stiffness, or simply treating yourself, massage therapy offers real and lasting benefits.

If you’re unsure which massage is right for you, Emma is happy to guide you based on your lifestyle, preferences, and physical needs. With a personalised consultation, she’ll ensure your treatment delivers the maximum benefit.

Book your massage appointment with Emma today and experience the benefits of personalised relaxation and muscle relief. Follow Emma on Facebook and Threads for wellness tips, self-care advice, and the latest updates on massage treatments.

What Is a Facial? A Step-by-Step Guide to This Essential Skincare Treatment

If you’ve never had a facial before, or you’re simply curious about what’s involved, you’re not alone. Many people think of facials as indulgent spa luxuries — but in reality, they are an essential part of a healthy skincare routine. In this blog post, Emma, an experienced beauty therapist, walks you through exactly what to expect during a professional facial treatment and how it can benefit your skin.


What Is a Facial?

A facial is a multi-step skincare treatment performed by a qualified beauty therapist or esthetician. It’s designed to deeply cleanse, nourish, and rejuvenate the skin. When combined with a good home skincare routine, regular facials can help you achieve clearer, well-hydrated, and more youthful-looking skin. Let’s break down what typically happens during a professional facial appointment.

The 7 Steps of a Professional Facial

1. Consultation

Every great facial starts with a conversation. Your therapist will ask about your skin goals, lifestyle habits (like hydration, diet, and exercise), and any medications or skincare products you’re currently using. This helps identify any underlying skin concerns and tailor the treatment to your needs.


2. Cleansing

The therapist will begin by deep cleansing your face using professional-grade products suited to your skin type. This step removes surface impurities, makeup, and oils — creating a clean canvas for the treatment ahead.


3. Skin Analysis

Next, your skin is examined under a magnifying lamp (your eyes will be safely covered). This allows the therapist to determine your skin type (e.g. oily, dry, combination) and spot any specific issues like acne, dehydration, or sensitivity. Based on this analysis, your facial will be customised for optimal results.


4. Exfoliation

Now it’s time to remove dead skin cells that can clog pores and dull your complexion. This is done using either:

  • A mechanical exfoliant (with a gritty texture)
  • A chemical exfoliant (using gentle acids or enzymes)

Exfoliating helps your skin absorb products better and leaves it brighter and smoother.


5. Facial Massage

A soothing facial massage follows — a highlight for many clients! Massage helps relax facial muscles, stimulate blood flow, and enhance product absorption. Plus, it’s incredibly calming and contributes to that post-facial glow.


6. Face Mask

Next, a mask is applied — carefully chosen to suit your skin’s specific needs. Whether your skin is dry, oily, sensitive, mature, or acne-prone, your therapist will select the right formulation to nourish, balance, or soothe your skin. While the mask sets, many therapists (including Emma!) offer a scalp massage for extra relaxation. Once the mask has done its job, it will be gently removed using warm towels or wipes.


7. Tone, Serum & Moisturise

To finish, your therapist will apply a combination of toner, targeted serums, and moisturiser — all tailored to your skin type. These products hydrate, balance, and protect your skin, locking in all the benefits of your facial.


Why Book a Facial?

Facials offer more than just instant skin radiance — they also:

  • Help unclog pores and prevent breakouts
  • Improve skin hydration and elasticity
  • Reduce tension in facial muscles
  • Support long-term skin health with regular treatment
  • Leave you feeling refreshed, confident, and relaxed

Meet Emma – Your Local Facial Specialist

With over 10 years of experience, Emma is a qualified beauty therapist known for her personalised, results-driven treatments. Whether you’re dealing with specific skin concerns or just need a pampering reset, you’ll be in safe hands.

Have questions or want to book an appointment? Book your facial appointment with Emma today and give your skin the TLC it deserves! Follow Emma on Facebook and Threads for more skincare tips, myth-busting info, and beauty advice.

First Bikini Wax? Here’s How to Prepare for a Smooth Experience

So, you’re getting your first bikini wax — exciting, but also a little nerve-wracking? You’re not alone! Whether you’re booking ahead of a holiday, a special occasion, or just for your own self-care, a little preparation can go a long way in making your waxing experience as smooth (and painless) as possible.

In this guide, we’ll walk you through everything you need to know before your first bikini wax — from hair length and pain relief, to what to wear and when to book.


Make Sure Your Hair Is Long Enough

One of the most common mistakes first-timers make is booking their wax too soon after shaving. For wax to grip effectively, hair should be at least 1/4 inch (around 6mm) in length — about the size of a grain of rice. Tip: If your hair is too short, the wax won’t work properly and your technician may recommend rescheduling.


Exfoliate the Day Before (Not the Day Of)

Gentle exfoliation the day before your wax helps remove dead skin cells, unclog pores, and reduce the chance of ingrown hairs. Tip: Use a gentle body scrub or make your own using sugar and olive oil. Avoid exfoliating on the same day, as it may leave your skin too sensitive.


Consider Taking a Pain Reliever

Everyone experiences pain differently, but if you’re feeling anxious, taking ibuprofen or paracetamol about 30–60 minutes before your appointment can help reduce sensitivity and inflammation. Tip: Avoid caffeine on the day of your appointment — it can heighten sensitivity!


Know What Style You Want

There are several types of bikini waxes to choose from, and it’s helpful to decide in advance:

  • Basic Bikini Wax: Removes hair from the sides and top of the bikini line.
  • Full Bikini Wax: Cleans up more from the front while leaving a neat triangle of hair.
  • Brazilian Wax: Removes most or all hair from front to back.

Tip: Not sure what to choose? Emma will happily talk you through your options during your consultation.


Avoid Waxing During Your Period

Your bikini area becomes more sensitive around your period, which can make waxing more uncomfortable. That’s why it’s best to avoid booking a wax two days before or after your cycle.


Plan Your Appointment 3+ Days Before an Event

If you’re getting waxed before a holiday, pool party, or special occasion, make sure to leave at least 3 days for your skin to recover. Some redness or irritation is completely normal, especially for first-timers or those with sensitive skin. Tip: Avoid swimming, sunbathing, and intense workouts for at least 48–72 hours after your wax to allow your pores to close fully and reduce the risk of irritation or infection.


Wear Loose, Comfortable Clothing

After your wax, the skin will be a little tender — so it’s best to avoid tight-fitting clothes that can rub or irritate the area. Tip: Think breathable fabrics and soft underwear. Or, if you’re comfortable, go commando for a few hours post-treatment to avoid friction altogether!


Final Thoughts

Preparing properly for your bikini wax makes all the difference — especially if it’s your first time. With a few simple steps, you’ll feel more confident, comfortable, and ready for smooth results. If you have any questions or would like to discuss the right style for you, Emma is here to help! She’s experienced, friendly, and will make sure your first bikini wax is as easy and stress-free as possible.

Ready to book? Contact Emma today and treat yourself to beautifully smooth skin. Follow Emma on Facebook and Threads for skincare tips, waxing advice, and exclusive offers.

Hollywood Wax Aftercare

You’ve just had a Hollywood wax and your skin feels silky smooth — now what?

Proper aftercare is key to maintaining that fresh, clean feeling and avoiding any unwanted side effects like redness, irritation, or infection. In this post, we’ll walk you through the most important aftercare steps to follow in the hours and days after your Hollywood wax.

By treating your skin with care, you’ll promote faster healing, minimize sensitivity, and reduce the risk of ingrown hairs or breakouts.


Keep the Area Out of the Sun

Freshly waxed skin is more sensitive to sunlight. That’s because waxing removes both hair and the top layer of skin cells, which usually act as a natural barrier.

Tip: Avoid direct sunlight and tanning beds for at least 48 hours post-wax — or until any redness has completely faded. UV exposure during this time can increase your risk of sunburn and hyperpigmentation.


Hands Off!

We get it — it’s tempting to touch your skin after a wax to admire the smoothness. But doing so can transfer dirt and bacteria to the area, increasing the risk of infection.

Tip: Avoid touching, scratching, or rubbing the waxed area for the first 24–48 hours. This includes friction caused by tight clothing or sexual activity.


Skip Harsh Soaps and Chemicals

Your skin needs a little TLC after a wax. Harsh soaps, perfumed body washes, and alcohol-based products can cause stinging, dryness, or irritation.

Tip: Gently cleanse the area with lukewarm water and a mild, fragrance-free cleanser. If your skin feels hot or irritated, try applying a cool compress or soothing aloe gel.


Avoid Soaking or Overheating Your Skin

Post-wax, your hair follicles remain open for several hours, leaving your skin more vulnerable to bacteria.

Tip: Avoid hot baths, swimming pools, saunas, and steam rooms for at least 24 hours after your wax. These environments can not only irritate the skin, but also introduce bacteria that may cause infections.


Exfoliate — But Not Too Soon

While exfoliation is great for preventing ingrown hairs, timing is everything. Since waxing is already a form of exfoliation, doing it again too soon can damage your skin barrier and increase your risk of irritation or infection.

Tip: Wait at least 48 hours (some professionals suggest up to 7 days) before exfoliating. Once your skin has recovered, use a gentle scrub or exfoliating mitt 2–3 times a week to help keep ingrown hairs at bay.


Final Thoughts

Caring for your skin after a Hollywood wax is just as important as the wax itself. By following these simple tips, you’ll help your skin stay healthy, smooth, and irritation-free, while getting the most out of your treatment.

If you’re ever unsure or have any concerns about aftercare, don’t hesitate to reach out!

Contact Emma today for personalised waxing advice or to book your next appointment. Follow Emma on Facebook and Threads for more tips, client stories, and skincare inspiration.

The Truth About Facials: What They Can (and Can’t) Do for Your Skin

Facials

When it comes to skincare, facials are one of the most talked-about treatments — but also one of the most misunderstood. From myths about detoxing the liver to promises of instant youth, there’s a lot of confusion about what facials actually do.

So, do facials really live up to the hype? In this post, we explore what facials can and can’t do, backed by science and expert insight — so you can make the most informed decision about your skincare routine.


Facials Can Cleanse Your Liver

This is a myth! Let’s clear this up right away: no facial treatment can cleanse your liver. This popular myth has circulated in some beauty circles, but it simply isn’t true.

A 2012 study titled “Skincare in the Ageing Female: Myths and Truths” (published by The American Society for Clinical Investigation) confirmed that topical products applied to the skin cannot affect internal organs. Despite some bizarre claims from spa technicians in the U.S., no amount of massage or serum will detox your liver — that’s your liver’s job!


Facials Improve Skin’s Appearance (Short-Term)

This is true. A standard facial usually includes cleansing, steaming, exfoliation, extraction, massage, a mask, and moisturizing. According to Dr. Adam Friedman, Associate Professor of Dermatology at George Washington University, facials are primarily about enhancing the skin’s appearance in the short term.

Similarly, Dr. Joel Cohen, a clinical professor at the University of Colorado, emphasizes that “spas are mostly about pampering and short-term skin improvements,” rather than solving deep-rooted skin issues.

So, while your skin might look fresh, glowing, and clear right after a facial, the results are temporary — typically lasting anywhere from a few days to a couple of weeks.


For Deeper Skin Issues, See a Dermatologist

Facials are great for a glow-up, but they’re not a substitute for medical skincare. If you’re dealing with concerns like acne, hyperpigmentation, deep wrinkles, or age spots, a professional dermatologist is your best option. Dermatologists can:

  • Provide medical-grade treatments
  • Recommend evidence-based products
  • Identify underlying skin conditions (including skin cancer)

If your skincare goals go beyond pampering, book a consultation with a dermatologist for safe, effective treatment plans.


Facials Help with Stress and the Immune System

Many people report feeling deeply relaxed after a facial, thanks largely to the massage component and the time away from screens and stress. Some studies suggest facial massage can:

  • Reduce cortisol (the stress hormone)
  • Increase oxytocin (a feel-good hormone)

A Japanese study from the User Science Institute found that a 45-minute facial massage significantly reduced stress in some individuals. However, as noted in the 2012 ASCI study, the average hormonal shift was statistically small — meaning the relaxation effects are highly individual.

Still, we know that relaxation helps regulate the immune system, so while facials don’t directly affect immune cells, the indirect benefits may still be meaningful.


The Real Key to Healthy Skin? Lifestyle Choices

The glow from a facial is real — but it’s short-lived. For long-term skin health, the most effective strategies are:

  • Daily cleansing and moisturizing
  • Wearing SPF 30+ every day
  • Staying hydrated and eating a balanced diet
  • Avoiding smoking and excessive alcohol
  • Getting quality sleep

In fact, research shows that up to 80% of visible aging can be linked to UV exposure alone!


Should You Still Book a Facial?

Absolutely! Facials can:

  • Improve your skin’s texture and brightness
  • Give you a mental break from stress
  • Help you feel pampered and refreshed

Just remember — facials are best for surface-level improvements, not deep skincare fixes. For lasting results, pair occasional facials with smart skincare habits and medical advice when needed.


Ready to Treat Yourself?

Whether it’s for a quick skin refresh or a well-earned pampering session, facials are a great way to feel good in your skin. Just keep your expectations grounded, and don’t fall for the hype.

Book your facial appointment with Emma today and give your skin the TLC it deserves! Follow Emma on Facebook and Threads for more skincare tips, myth-busting info, and beauty advice.

Does a Hollywood Wax Hurt? What to Expect (And How to Make It Easier)

If you’ve never had a Hollywood wax before, one of your first questions is probably: “Does it hurt?”. The short answer? It can be uncomfortable, especially if it’s your first time — but it’s not as bad as you might think. In fact, many women say the anticipation is worse than the procedure itself. This blog post will walk you through what to expect during a Hollywood wax, how to reduce discomfort, and why the experience gets easier over time.


What is a Hollywood Wax?

A Hollywood wax removes all pubic hair — front, middle, and back — leaving the area completely smooth. It’s a popular choice for those who prefer a clean, hair-free finish for hygiene, aesthetic, or comfort reasons.


Is It Painful?

Pain is a very personal experience, and everyone’s tolerance is different. While some women find the procedure mildly uncomfortable, others barely flinch. The most common feedback?

“The first wax is the worst — it gets easier from there!”

Over time, as your hair grows back finer and your skin gets used to the process, waxing becomes noticeably less painful and more manageable.


What Can Help With the Pain?

If you’re concerned about discomfort, there are several ways to make the experience more comfortable:

Take a Pain Reliever

Consider taking paracetamol or ibuprofen 30–60 minutes before your appointment. This can help reduce both pain and any inflammation afterwards.

Talk to Your Waxing Specialist

Before your appointment, don’t hesitate to speak with Emma. She’s an experienced beauty therapist who specializes in Hollywood waxing and always aims to make the procedure as comfortable and stress-free as possible.

Emma uses gentle techniques and high-quality products to minimize discomfort — and can also offer you a choice of wax types. Some women find they tolerate hot wax better than strip wax, or vice versa, depending on skin sensitivity and hair type.


Final Thoughts

A Hollywood wax might feel daunting if you’ve never had one before, but with the right preparation, technique, and a caring professional like Emma, the process can be quick, clean, and surprisingly tolerable. Still unsure? Just ask! Emma is happy to answer any questions and help you feel completely at ease before booking.

Book your Hollywood wax today and discover just how smooth and simple it can be. Follow Emma on Facebook and Threads for more skincare tips and waxing advice.

Common DIY Waxing Mistakes (And How to Avoid Them)

Waxing

Waxing at home can be a convenient and affordable way to keep your skin smooth — but only when done correctly! While professional waxing offers precision and comfort, many people prefer the DIY approach. However, mistakes are common and can lead to irritation, missed hairs, or worse — bruising and ingrown hairs.

If you’re new to waxing or just want better results, here are seven common waxing mistakes to avoid, and pro tips to get that silky-smooth finish every time.


1. Waxing Hair That’s Too Short

Just because you can see or feel the hair doesn’t mean it’s ready for waxing. Hair needs to be at least 1/4 inch (around 6mm) long so the wax can grip and pull it effectively. Waxing too early might result in missed spots and more discomfort. Tip: Let your hair grow out for about 2–3 weeks before waxing for best results.


2. Using Wax That’s Not Warm Enough

Many at-home waxing kits use microwavable wax, which is convenient — but inconsistent. If the wax isn’t warm enough, it won’t spread properly or grip the hair. And if it cools while you’re waxing a large area, it becomes less effective. Tip: Reheat as needed (but not too hot!), and consider investing in a wax warmer if you wax often.


3. Not Holding Skin Taut

When removing wax, it’s essential to stretch the skin taut with your free hand. If the skin moves with the strip, it can cause bruising, tugging, and unnecessary pain — not to mention uneven hair removal. Tip: Don’t be afraid to ask a friend for help if you’re waxing a hard-to-reach area like the back of your arms or thighs.


4. Skipping Skin Prep

Clean skin is a must before waxing. Dirt, oil, or makeup can prevent wax from adhering properly, leading to irritation, breakouts, or patchy results. Tip: Use a gentle cleanser and ensure the area is completely dry. A light dusting of powder (for soft wax) or pre-wax oil (for hard wax) can improve grip and reduce irritation.


5. Applying Too Much Wax

Less is more when it comes to wax! Applying a thick layer might seem like a good idea, but it can cause the wax to stay stuck, hurt more on removal, or break hairs rather than pull them out from the root. Tip: Aim for a thin, even layer — just enough to cover the hair.


6. Removing Wax Too Slowly

One of the biggest mistakes? Hesitation. Wax strips should be removed in one swift motion, close to the skin and in the opposite direction of hair growth. Pulling too slowly or upwards can lead to pain, broken hair, and red skin. Tip: Practice the motion with dry strips first to build confidence and get the angle right.


7. Underestimating the Technique

Waxing might look easy, but professionals make it seem effortless because they’re trained! DIY waxing takes practice. Without the right technique, timing, or prep, mistakes are more likely. Tip: Don’t give up after one try — you’ll improve with practice. But for delicate areas like a Brazilian or Hollywood wax, it’s best to leave it to the pros.


Final Thoughts

Waxing at home can save time and money, but avoiding these common mistakes makes all the difference. Want perfect results without the hassle? Let a professional take care of it!

Book an appointment today with Emma and enjoy smooth, flawless skin — no stress, no mistakes. Follow Emma on Facebook and Threads for more skincare tips and waxing advice.

Preparing for a Hollywood Wax: 6 Essential Tips for Smooth Results

Thinking about getting a Hollywood wax? Whether it’s your first time or part of your regular beauty routine, a little preparation goes a long way in ensuring the best results — silky-smooth skin with minimal discomfort. In this post, I share six simple yet effective tips to help you prepare for your Hollywood waxing appointment and get the most out of your experience.

1. Let Your Hair Grow to the Right Length

For the wax to grip effectively, hair should be at least 1/4 inch (about 6mm) long — roughly the size of a grain of rice. If your hair is shorter, waxing may be less effective, and you may need to wait a little longer between appointments. Pro tip: Avoid shaving in between waxes, as this can disrupt hair growth patterns and increase discomfort next time.

2. Exfoliate Gently the Day Before

Exfoliating the bikini area helps remove dead skin cells and frees trapped hairs, making waxing more effective. Use a gentle body scrub or a DIY mix of sugar and olive oil to prep your skin the day before (not the same day) of your appointment.

3. Consider Taking Pain Relief

Feeling anxious about the discomfort? Consider taking ibuprofen or paracetamol 30–60 minutes before your session. It won’t eliminate pain entirely, but it can reduce sensitivity and inflammation during and after the procedure.

4. Avoid Waxing During Your Period

Skin is more sensitive around your menstrual cycle, so try to book your appointment at least 2–3 days before or after your period ends. This small timing adjustment can make a big difference to your comfort level.

5. Schedule Smart Around Events and Swimming

If you’re waxing ahead of a holiday or special event, allow at least 3 days of recovery time. Redness or sensitivity is completely normal, especially for first-timers or those with sensitive skin. Avoid swimming, sunbathing, or intense workouts during this period, as sweat and chlorine can irritate freshly waxed skin.

6. Dress for Comfort

After your Hollywood wax, your skin may feel tender. Opt for loose-fitting clothes and breathable underwear to reduce friction and keep the area cool. If you’re comfortable, skipping underwear altogether after your appointment can further ease irritation.


Final Thoughts

A Hollywood wax is a great way to feel fresh, confident, and beach-ready. With just a bit of preparation, you’ll enjoy smoother results and a much more comfortable experience. If you have any questions about Hollywood waxing, don’t hesitate to reach out — Emma is always happy to help!